🔗 1. Connecting Your RingOver Account
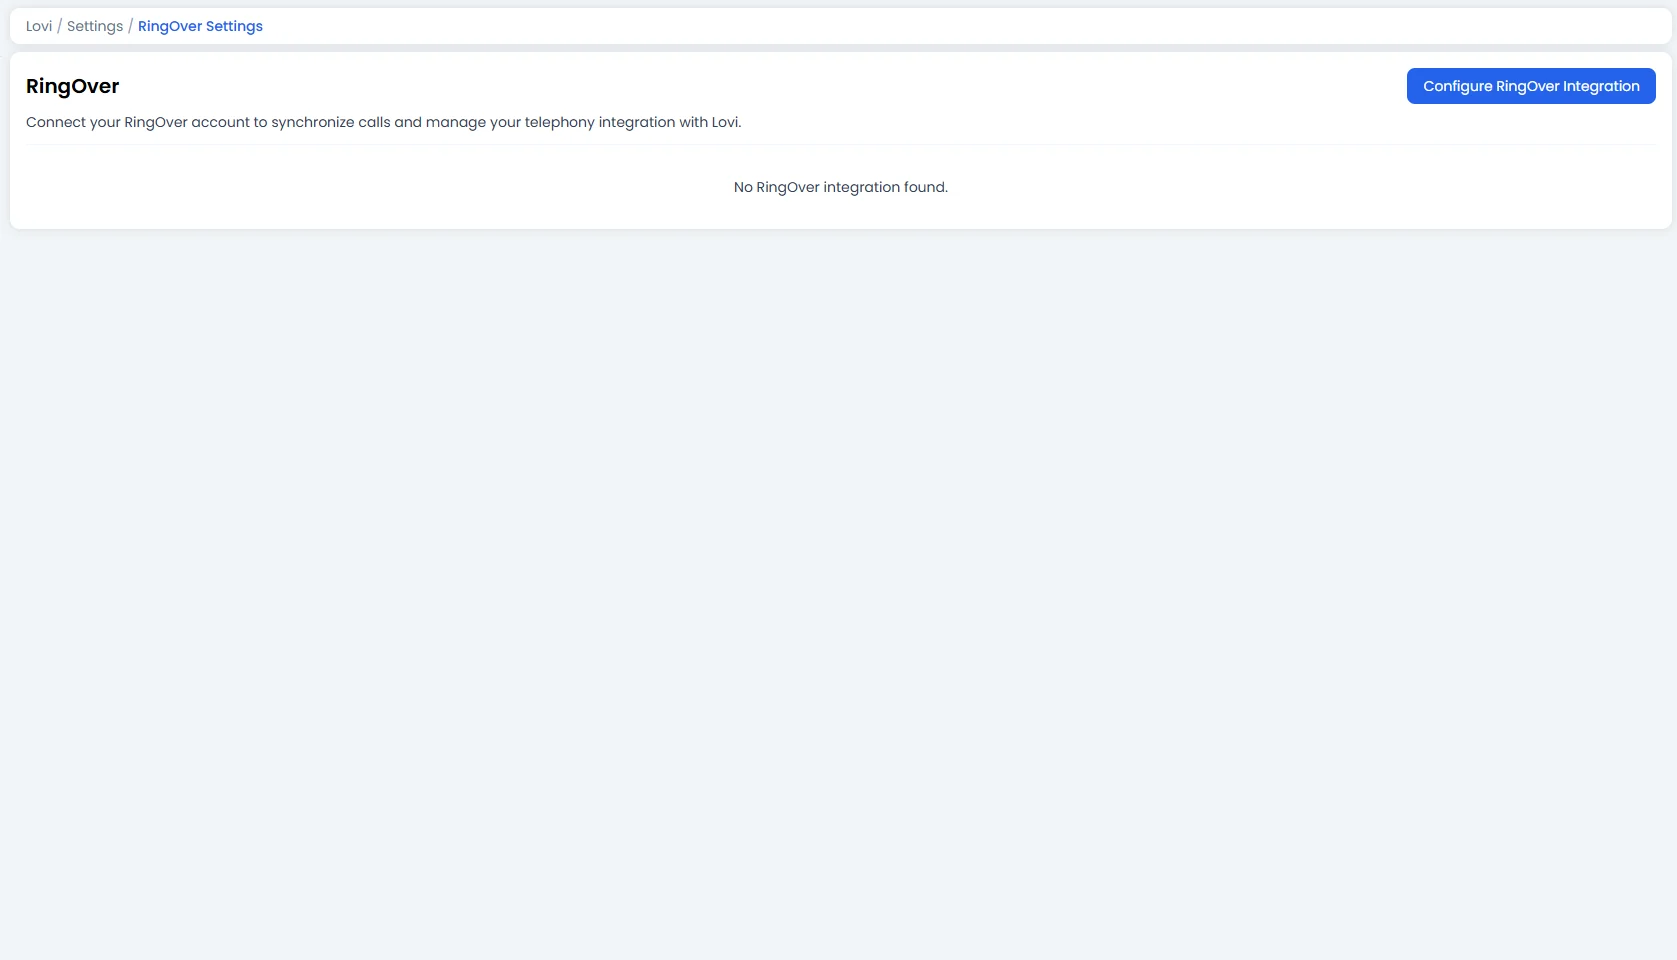
To get started, click the blue button: [Configure RingOver Integration] This opens a setup wizard that walks you through the process in one simple step:Step 1: Enter your API Token 🔑
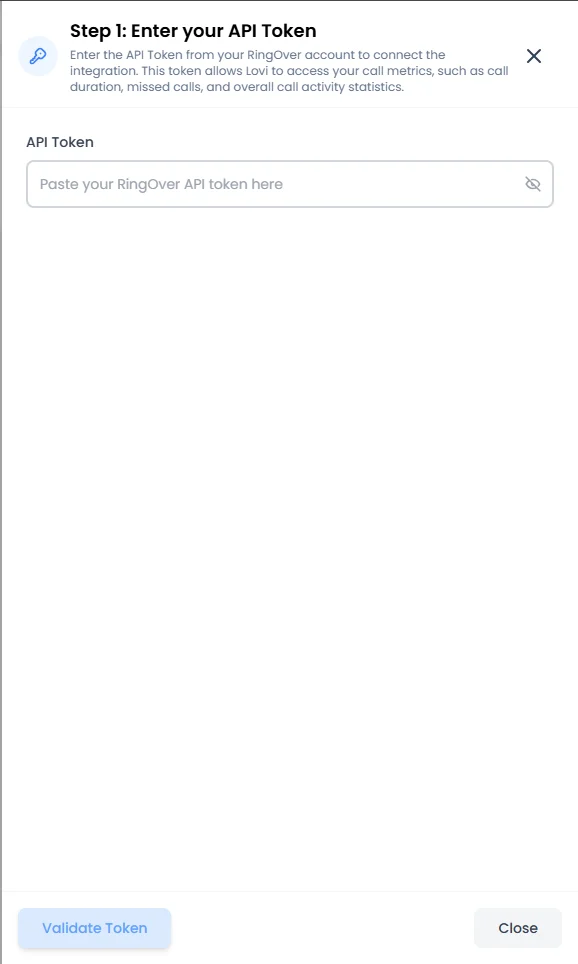
- API Token: Paste the API Token from your RingOver account. This token allows Lovi to access your call metrics, such as call duration, missed calls, and overall call activity statistics.
- Validate Token: Click the Validate Token button at the bottom. The system will verify your credentials against RingOver’s servers.
📋 2. Integration Overview (Your Dashboard)
Once your account is connected, you’ll see a summary table right on the settings page:
On the right side of each row, you’ll find two action icons:
- ✏️ Edit: Opens the integration configuration panel.
- 🗑️ Delete: Removes the integration entirely. Use with caution — this will disconnect your RingOver account from Lovi.
🛠️ 3. Editing the Integration
Click the Edit icon to open the configuration panel: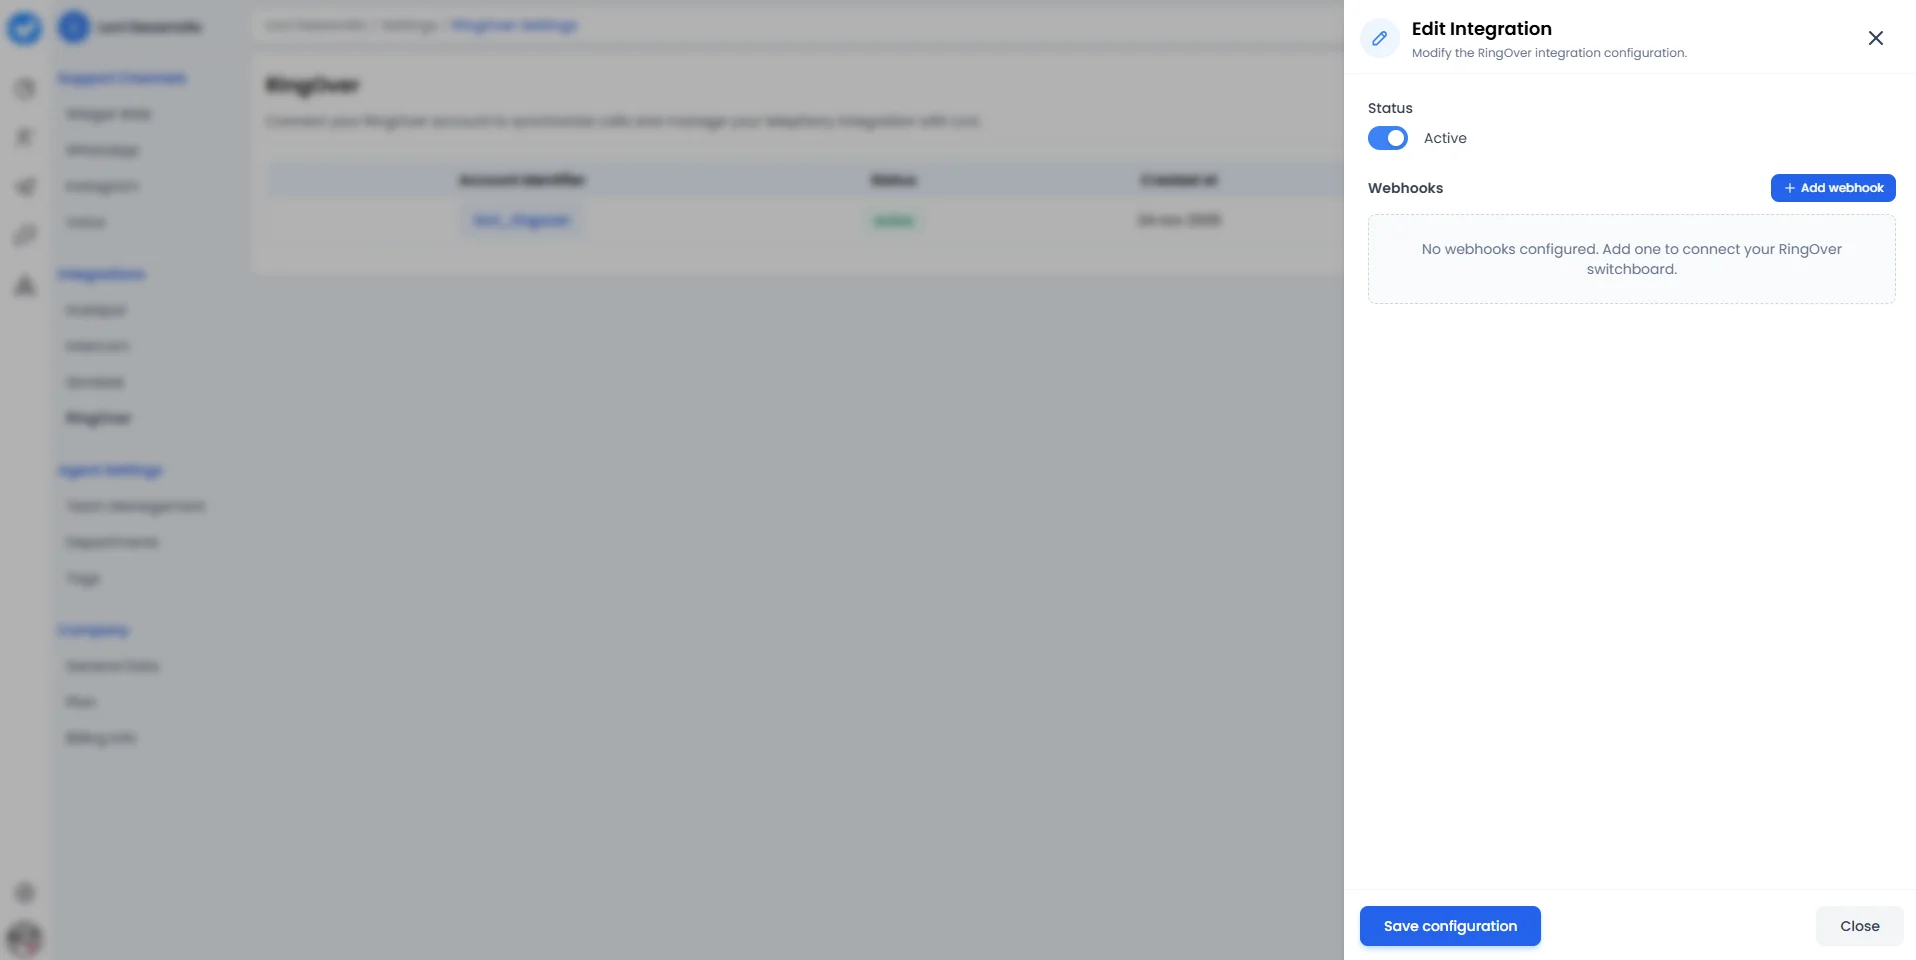
A. Status Toggle 🔄
- Active / Inactive: Use the toggle to enable or disable the integration without deleting it. Handy if you need to pause the connection temporarily (e.g. during maintenance or testing) without losing your configuration.
B. Webhooks ➕
This is where the real power lives. Webhooks let RingOver notify Lovi in real time whenever something happens on your switchboard.- + Add webhook: Click this button to register a new webhook.
- No webhooks configured? You’ll see a friendly message: “No webhooks configured. Add one to connect your RingOver switchboard.”
🎯 Why connect RingOver?
The main goal is visibility and automation:- Unified call tracking: Every call handled through RingOver is synchronised with Lovi, giving you a single pane of glass for all customer interactions — chat, voice, and more.
- Real-time events: Webhooks ensure that call events (answered, missed, completed) flow into Lovi instantly, enabling automations and timely follow-ups.
- Zero context-switching: Your team stays in their familiar tools while Lovi handles the data orchestration behind the scenes.