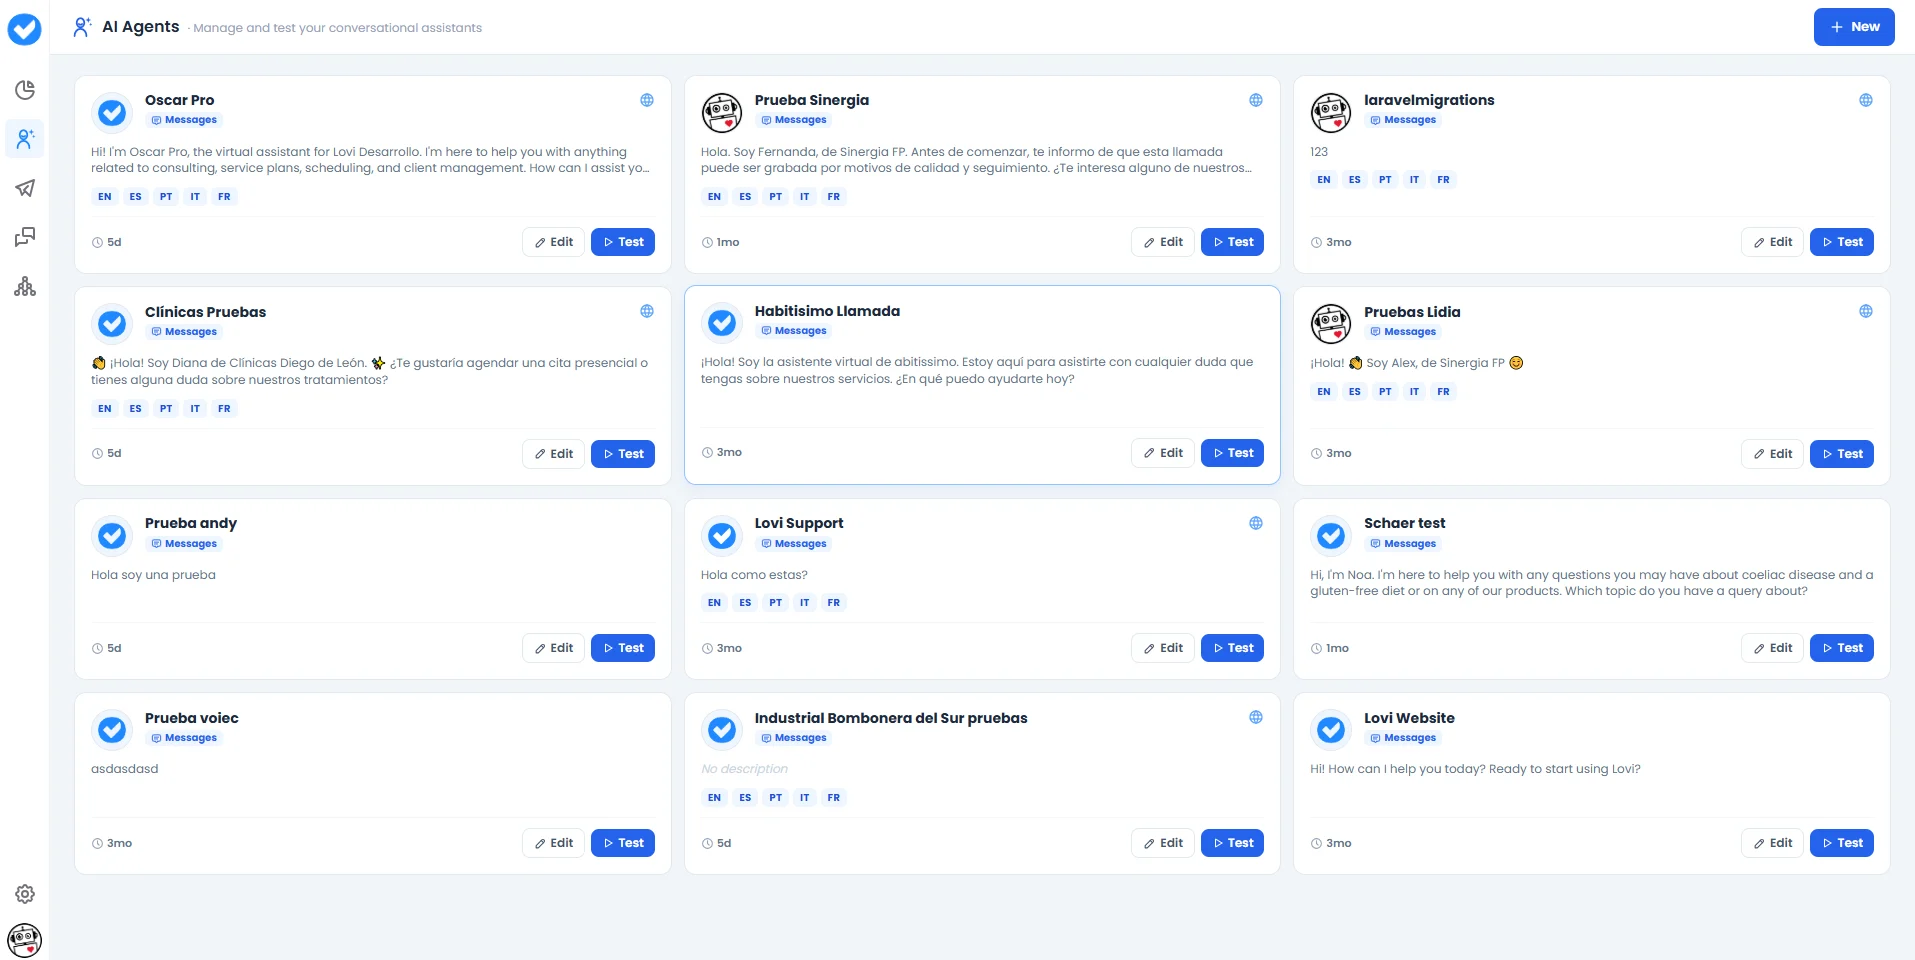
- Edit: Jump straight into the full agent configuration (Engine, Guardrails, Voice, etc.).
- Test: Open the Playground to try the agent in real time before going live.
🆕 Creating a New Agent
Click the + New button in the top-right corner to launch the creation wizard. It’s a short, guided onboarding that will have your agent ready in minutes.Step 1: Choose Interaction Type
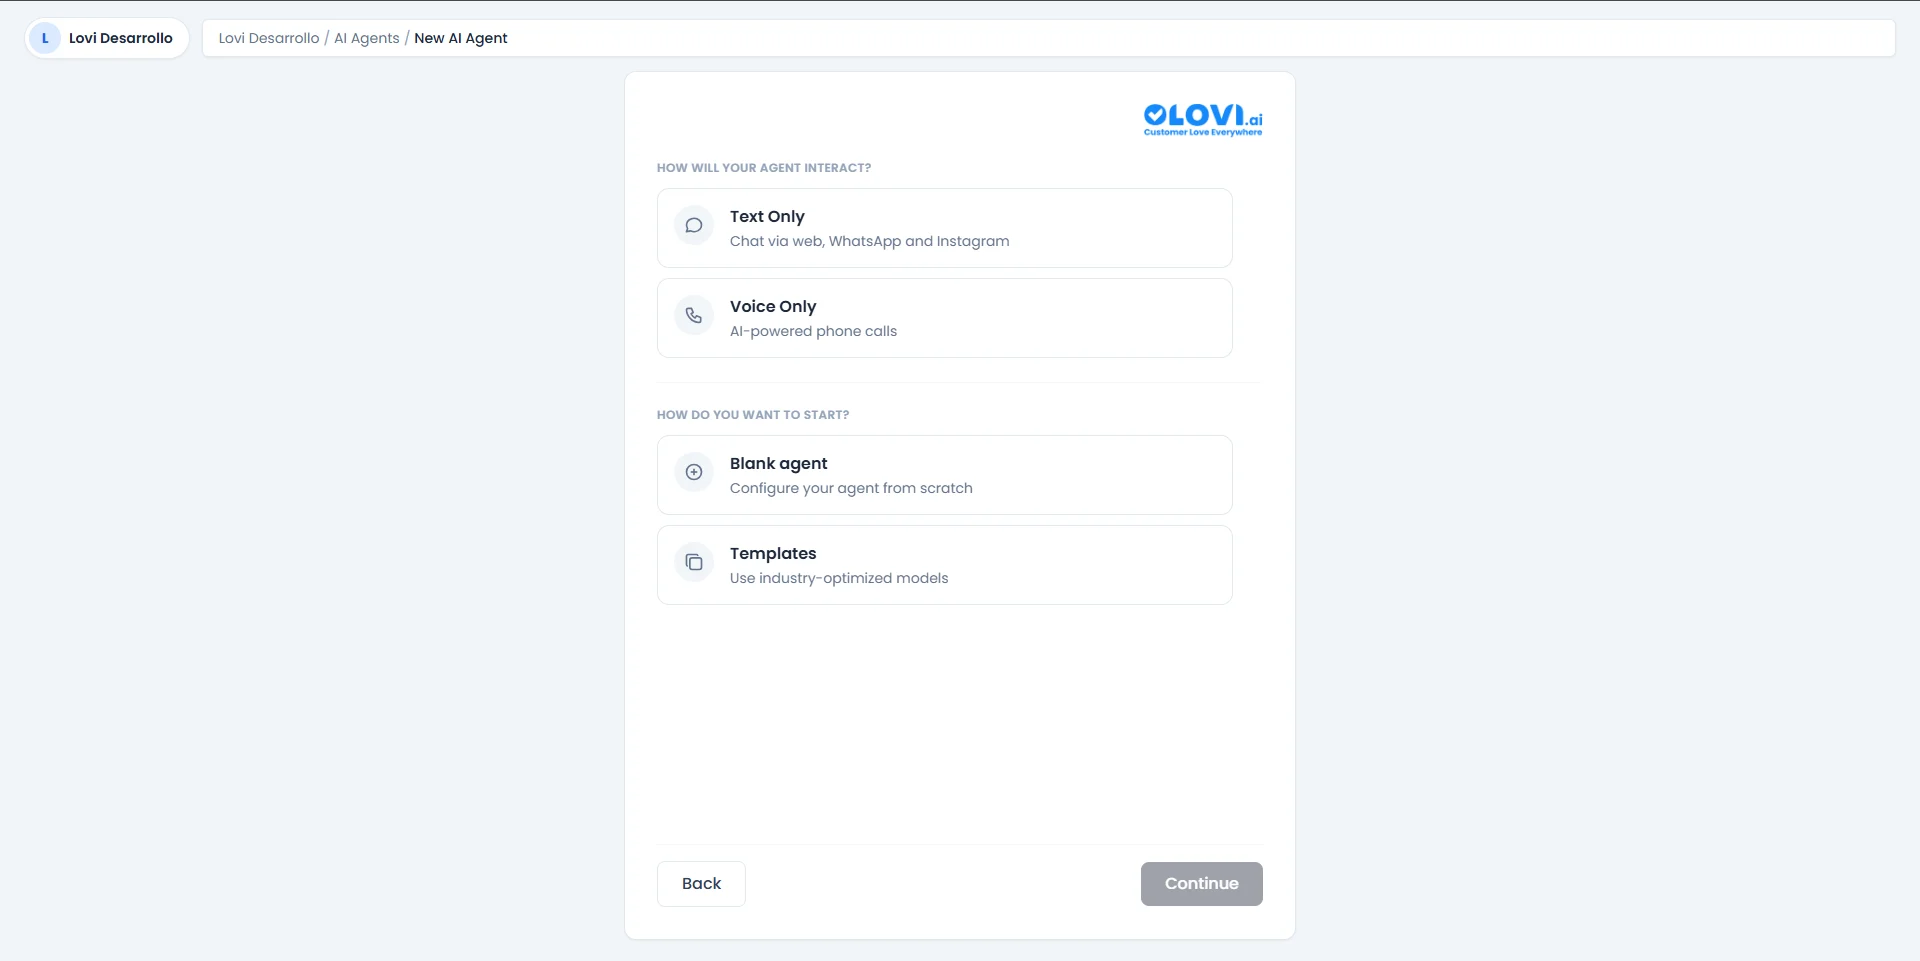
Then, choose how you want to start:
Click Continue to proceed.
Path A: Blank Agent
If you chose Blank agent, you’ll go straight to the configuration screen: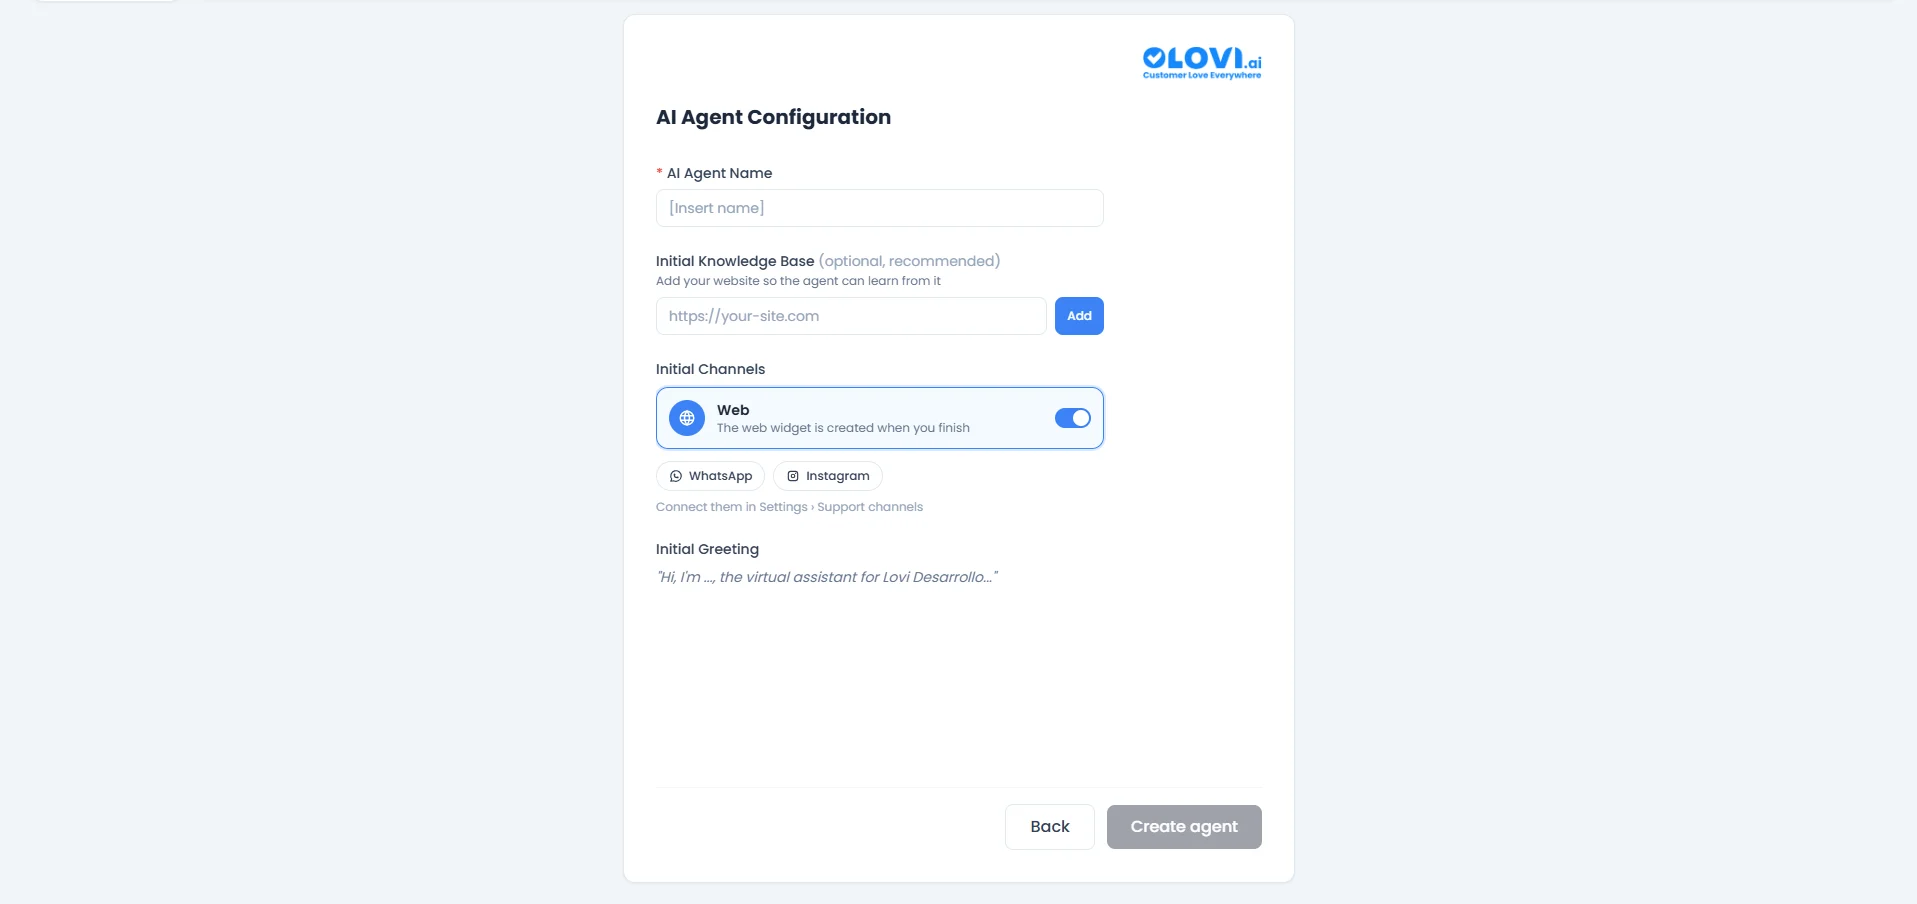
- AI Agent Name (required): Give your agent a recognisable name (e.g.
Support Bot,Sales Assistant). - Initial Knowledge Base (optional, recommended): Paste your website URL so the agent can learn from it right away. Click Add to include it.
- Initial Channels: Toggle which channels the agent should be active on:
- Web — Enabled by default. A web widget is automatically created when you finish.
- WhatsApp / Instagram — Shown as available but need to be connected first in Settings > Support Channels.
- Initial Greeting: A pre-filled greeting message that will be shown to customers when a conversation starts (e.g. “Hi, I’m …, the virtual assistant for Your Company…”).
Path B: Templates (Industry-Optimised)
If you chose Templates, the wizard walks you through three quick steps to tailor the template to your business.Step 2 of 3: Select Your Sector

- Retail and e-commerce
- Health and medicine
- Finance and banking
- Real Estate
- Education and Training
- Hospitality and Travel
- Automotive
- Professional Services
- Technology and Software
- Government and Public Sector
- Food and Beverage
- Manufacturing
- Fitness and Wellness
- Legal Services
- Non-Profit
- Media and Entertainment
- Other
Step 3 of 3: Choose Your Use Case
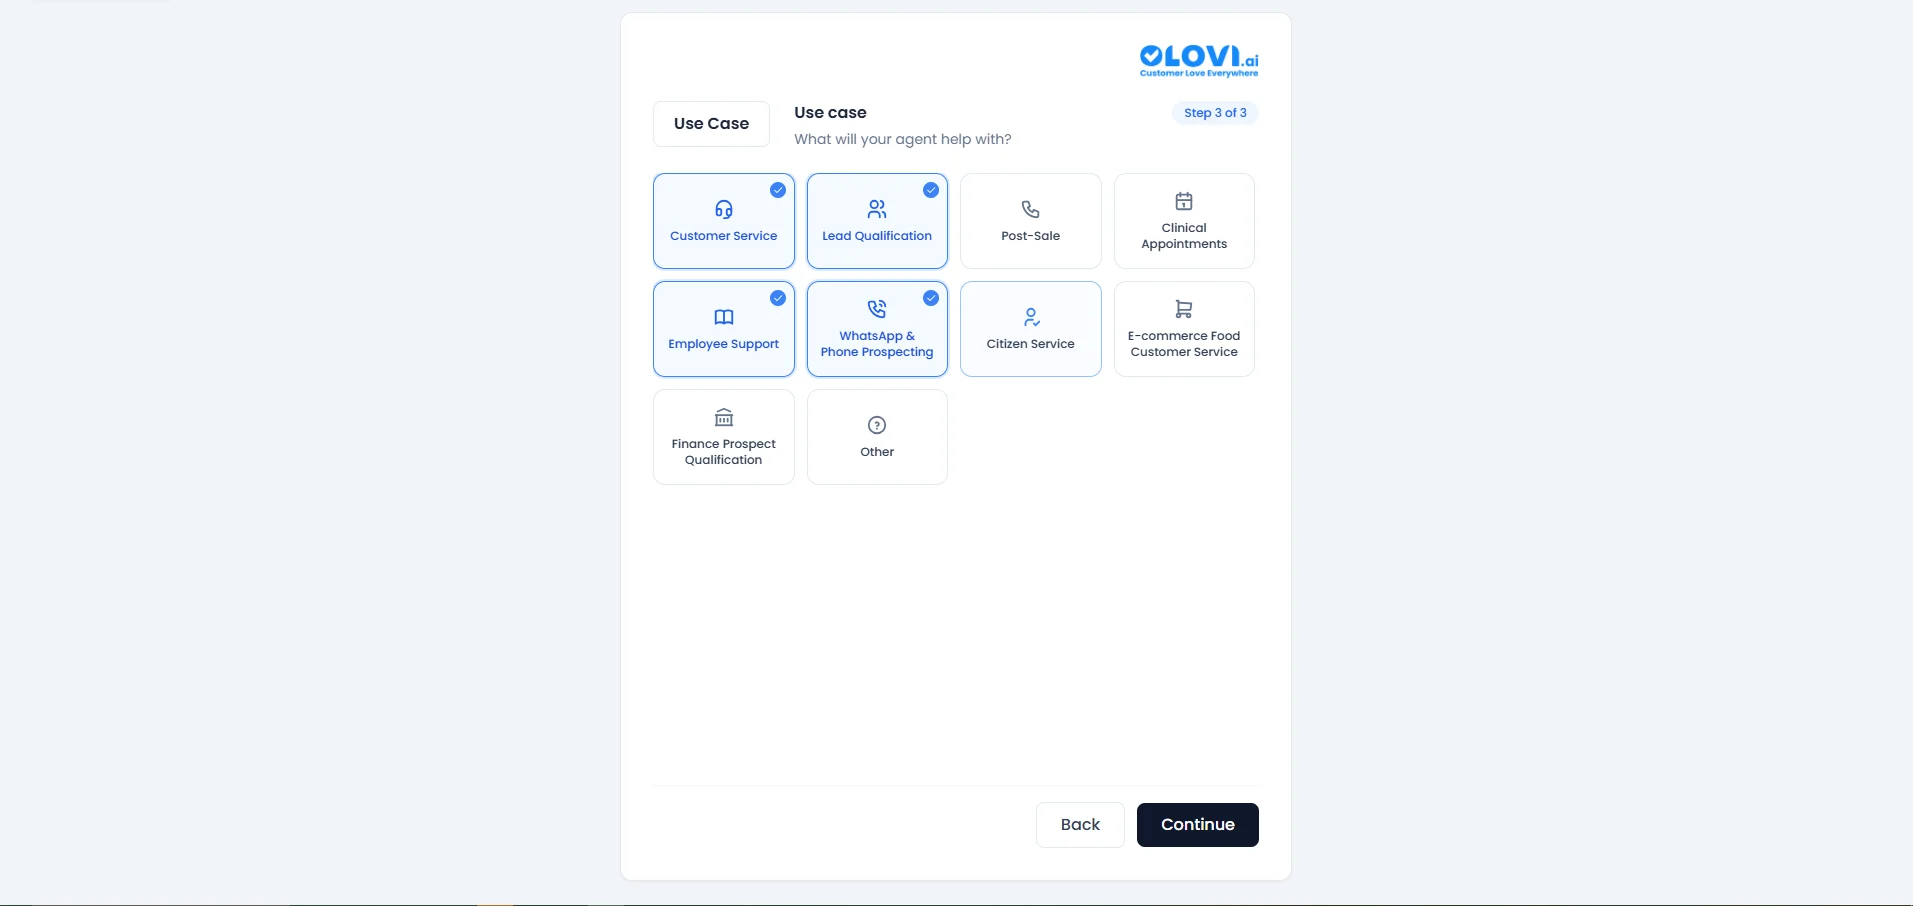
- Customer Service
- Lead Qualification
- Post-Sale
- Clinical Appointments
- Employee Support
- WhatsApp & Phone Prospecting
- Citizen Service
- E-commerce Food Customer Service
- Finance Prospect Qualification
- Other
Final Step: Agent Configuration
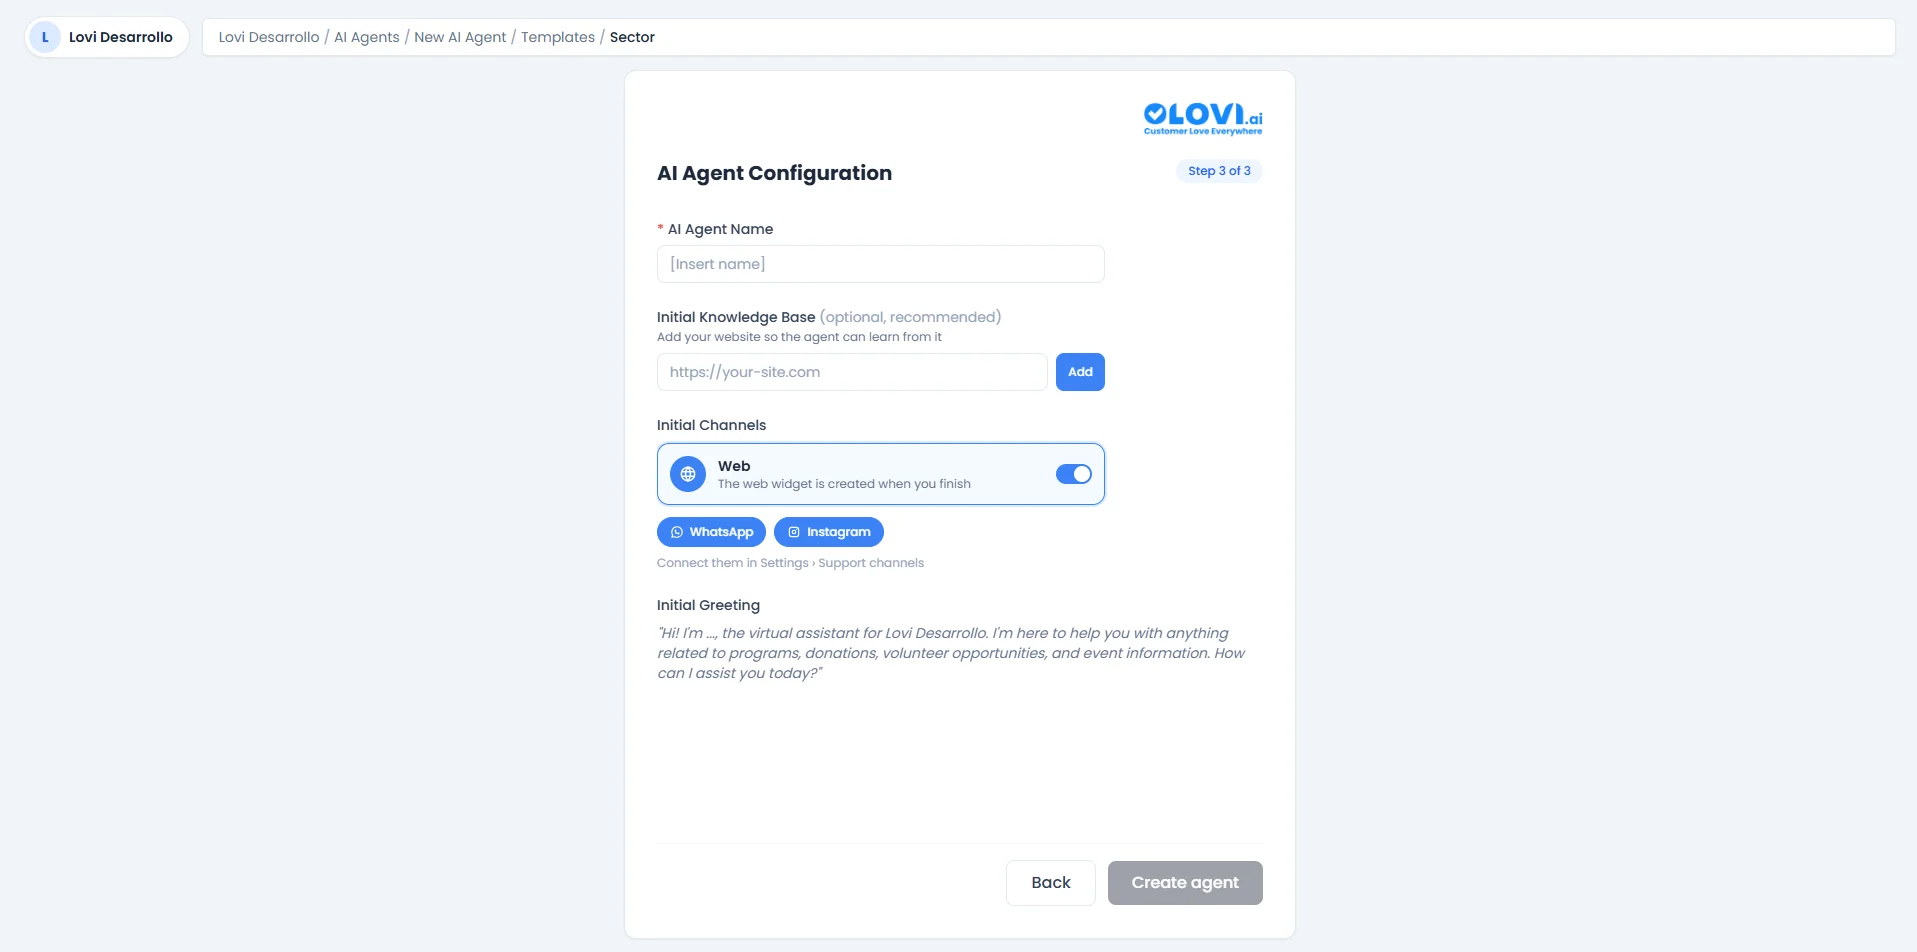
- AI Agent Name (required)
- Initial Knowledge Base (optional, recommended)
- Initial Channels (Web, WhatsApp, Instagram)
- Initial Greeting
🎓 What’s Next?
Once your agent is created, you’ll be inside the full configuration module where you can:- Config Agent: Fine-tune the engine, guardrails, topics, fields, events, voice, and chat settings.
- Web Crawlers: Enrich your agent’s knowledge by connecting web data sources.
- Websites: Manage the websites your agent learns from.
- FAQs: Set up frequently asked questions for instant answers.
- Documents: Upload and manage documents in your knowledge base.
- Catalogues: Connect product catalogues for e-commerce agents.